Table of Contents
Getting Started with mAirList
This article will give you a quick overview of the mAirList Radio Automation and will help you to get started with the software.
Documentation for Version 6.3

Below is the rest of the old tutorial for version 5.3 until the documentation for version 6.3 is complete.
Cartwall
The cartwall offers another way to play audio items, often short elements like jingles or music beds.
In the default configuration, the cartwall is embedded into the main screen and has three slots, or players. The number of slots can be adjusted in the configuration (see below), and you can also opt to have the cartwall in a separate window. In either case, use the Cartwall button in the main toolbar to hide or show the cartwall.
ON, PFL, and OFF mode
The cartwall has three different operation modes: ON (on air), PFL (prelistening) and OFF (when neither ON nor PFL is active). This will actually switch the sound card output (and disable some other things like logging in PFL mode) - see the section on audio routing below. When you use remote control with your mixing console, it is also possible to reflect the state of the cartwall channel on the console here (ON = fader open, PFL = fader in PFL/cue mode, OFF = fader closed).
Operating the cartwall
To load an audio item into a slot, just drag it from Windows Explorer, the Browser, or the playlist into an (empty) slot:
Note that the cartwall is multi-tabbed. Click the New Page icon to add another page. When you drag an audio item onto the empty cartwall (with no open page), a new page will be created automatically. You can also replace an existing item on a page by dragging another item on top of it.
Players can only be started when the cartwall is on ON or PFL mode. When you switch from ON or PFL to OFF, all cart players are stopped automatically.
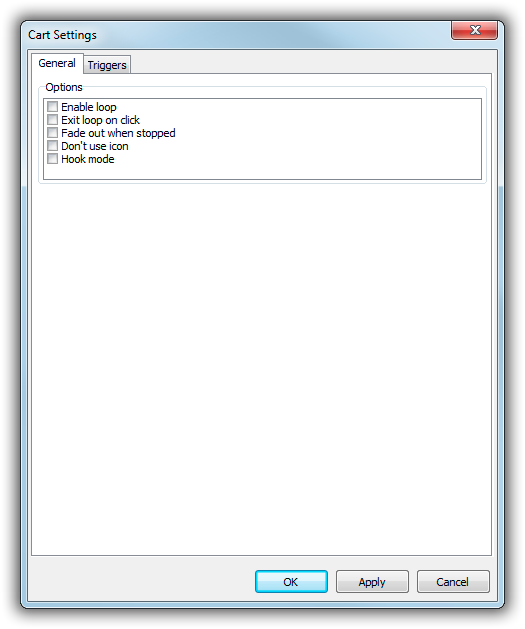
To start a player, simply click it anywhere with the mouse. To stop it again, click it again. If you want the player to fade out rather than stop on the second click, right-click it, select Cart Settings from the menu, and then check the Fade out when stopped option:
Note that the cart players, unlike the playlist players, have no individual PFL function. It's always the entire cartwall that is in PFL mode or not. To prelisten to a cart while the cartwall is in ON mode, select PFL in the cart player context menu. This will open the Properties dialog with the Cue Editor active and playing (see section on PFL above).
Triggers
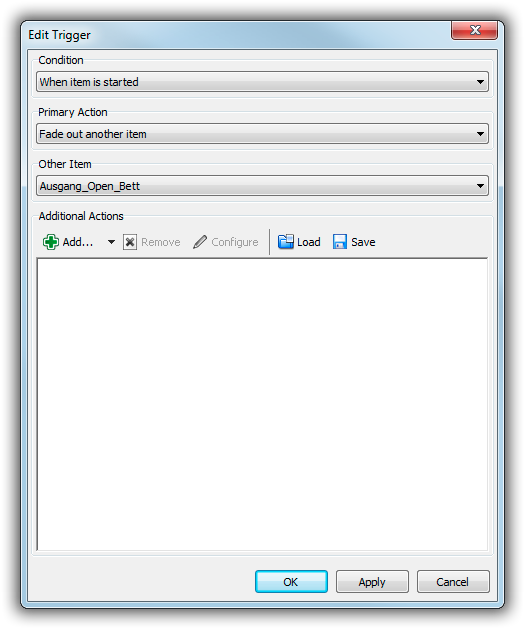
On the Triggers tab in the Cart Settings dialog, you can define actions to perform when this cart item is started or stopped. A typical example is to fade out a music bed on cart 1 when the closer jingle on cart 2 is started:
You can also define additional actions to be performed, e.g. issue another command, or send some signal to connected remote control hardware. Click the Add button and explorer the available actions, there are plenty!
Design Mode
Design Mode is engaged by clicking the Design Mode button in the cartwall toolbar, or by double-clicking the empty space between or around the cart players.
In Design Mode, you can fine-tune the appearance of the cartwall items:
- Close a cartwall item using the X icon.
- Change the color of an item (by clicking the toolbar button next to the Desing Mode button that appears).
- Move cartwall items around with the mouse (even while they are playing!)
- Resize cartwall items - yes, they can actually span multiple slots/spaces. Not really useful for a 1×3 embedded cartwall, but imagine a huge cartwall with 40 or 50 slots in a separate window on a separate screen; you can make the most important carts on your page bigger, and easier to operate.
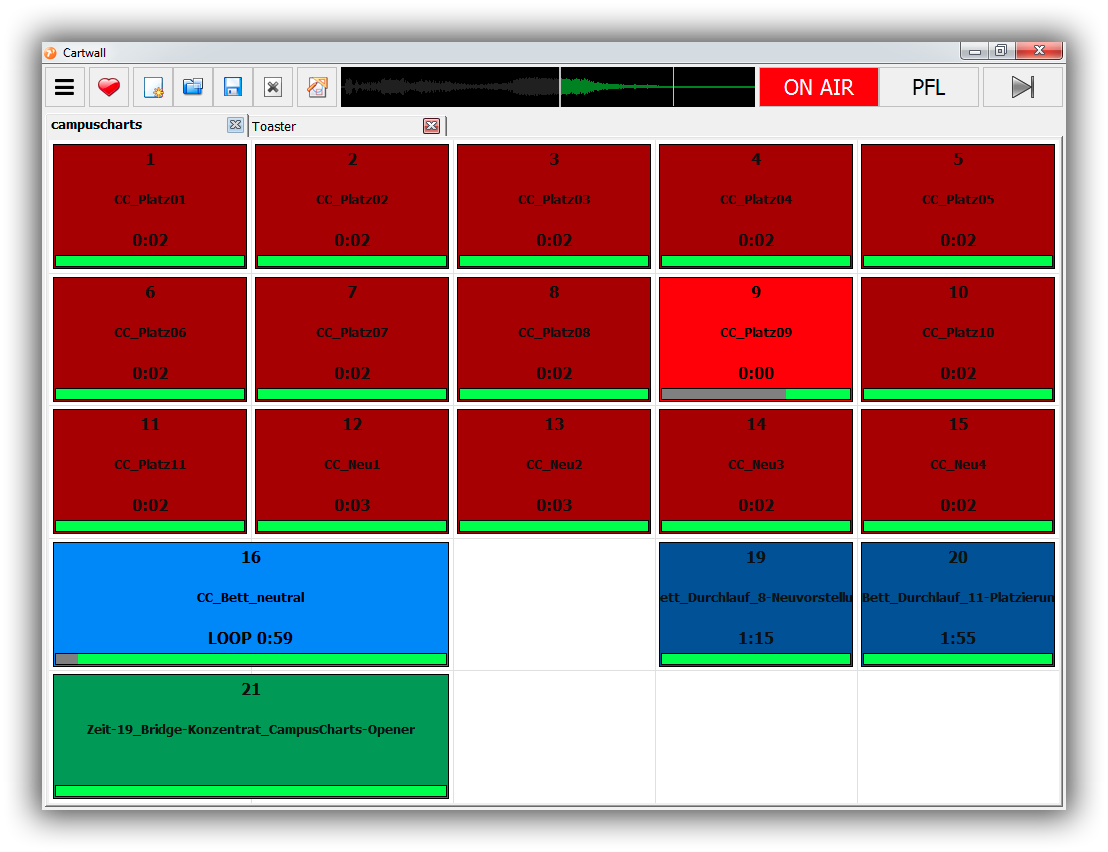
Here's an example of a cartwall page in a separate window, with many buttons in different colors and different sizes:
Saving and loading cartwall pages
You can save cartwall pages as *.mcp file and load them again using the Open Page button. It's also possible to specify a set of favorite cartwall pages (or folders of *.mcp files) in the config, and you get a new button with a convenient dropdown menu for quick access to your favorite cartwall pages.
Basic configuration
Up to this point, we have been working with the default configuration of mAirList. In this section, we will show you how to access the configuration of mAirList, and give a very brief overview of the various configuration options.
Configuration app, Control Panel, and temporary changes
There are actually three ways to change configuration options in mAirList.
The first way is to use the standalone configuration app, found in the Windows Start Menu. You must close the main application before accessing the config app. In early version of mAirList, the standalone config app was the only way to access the configuration. The idea was to keep the operator (DJs in your studios) from making permanent changes to the config, so it was “hidden” in a separate app. Even today, some basic configuration options (like the number of players, or GUI configuration) are only available in the standalone config app.
The second way to access the configuration is using the Control Panel, found in the menu next to the About button in the main window toolbar. The Control Panel is actually pretty similar to the standalone configuration app, but only offers a limited set of configuration pages - those options that can actually be adjusted at runtime.
Finally, the user can make a couple of temporary changes to the configuration, e.g. by changing options from the playlist right-click menu. These changes are reset when you restart the software.
In the following, we assume you use the standalone configuration app (which has all pages available).
Playlist and players
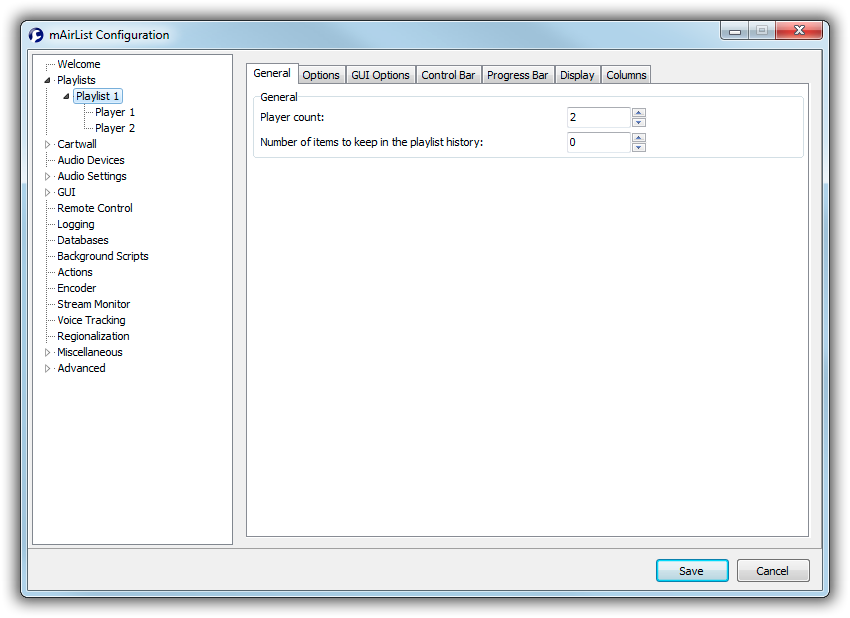
On the Playlists page, you can adjust things like the number of playlists (most people have only one), the numbers of players for that playlist (the default is 2, player A and B), and the various options for the playlist:
The general options are divided into two lists, Options (the way the playlist works) and GUI Options (the way the playlist looks, and the way it is operated). This distinction between options and GUI options can be found in many other places in the configuration. For the playlist, you also have a separate list of on/off options for the control bar (the toolbar) and the progress bar, as well as display and column settings.
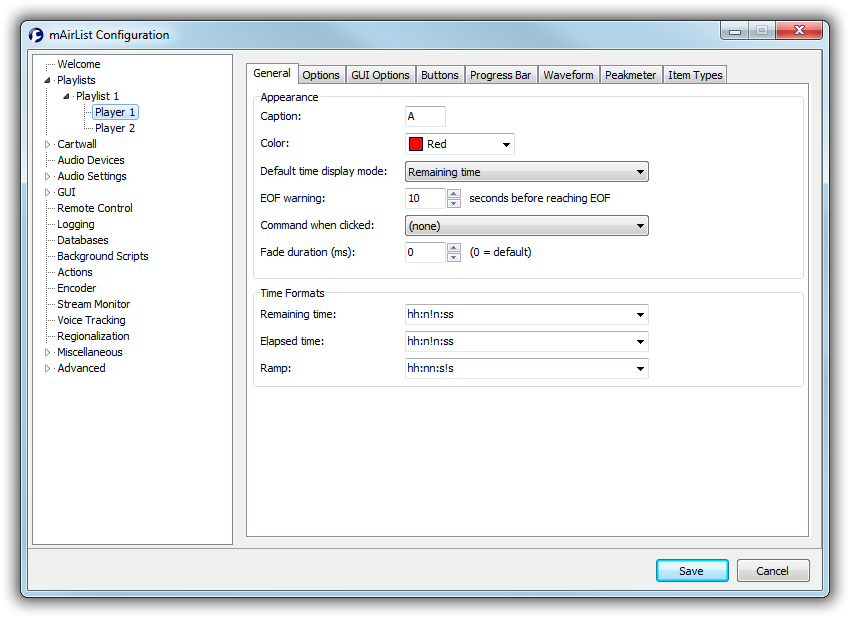
When you navigate further into the menu tree, you get to the options for the playlist players. On the General tab, you can adjust things like the name and the color of the player:
And then again, you have several tabs with options, GUI options, etc.
Cartwall
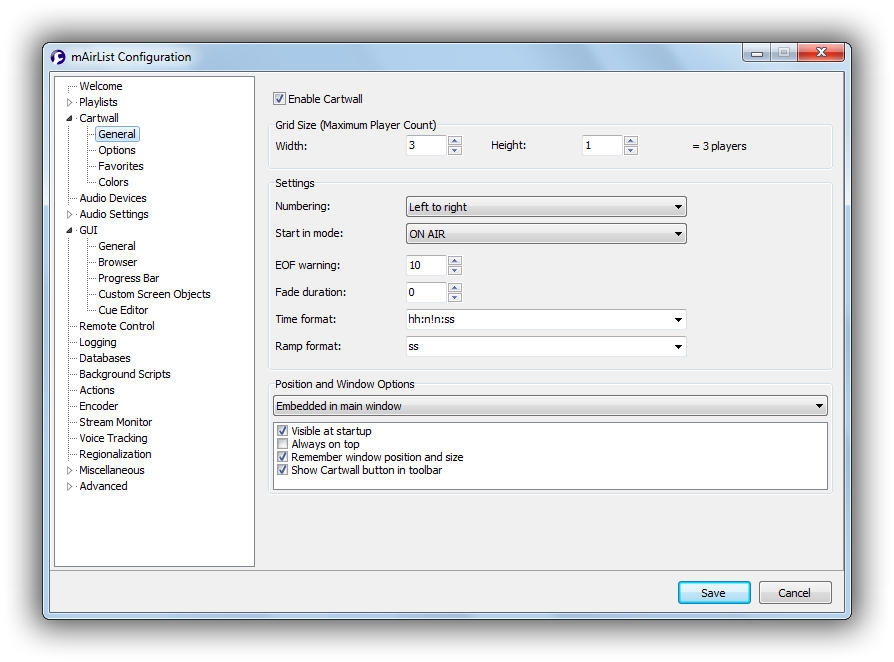
On the page Cartwall → General, you can adjust the basic parameters of the cartwall:
This includes the number of players (grid size), the mode to start in (ON/OFF/PFL), and whether the cartwall should be displayed as part of the main window, or in its own window.
The other configuration pages for the cartwall offer various options and GUI options, a list of favorite cartwall pages (which will appear in a dropdown menu for easy access), and color settings.
Audio routing
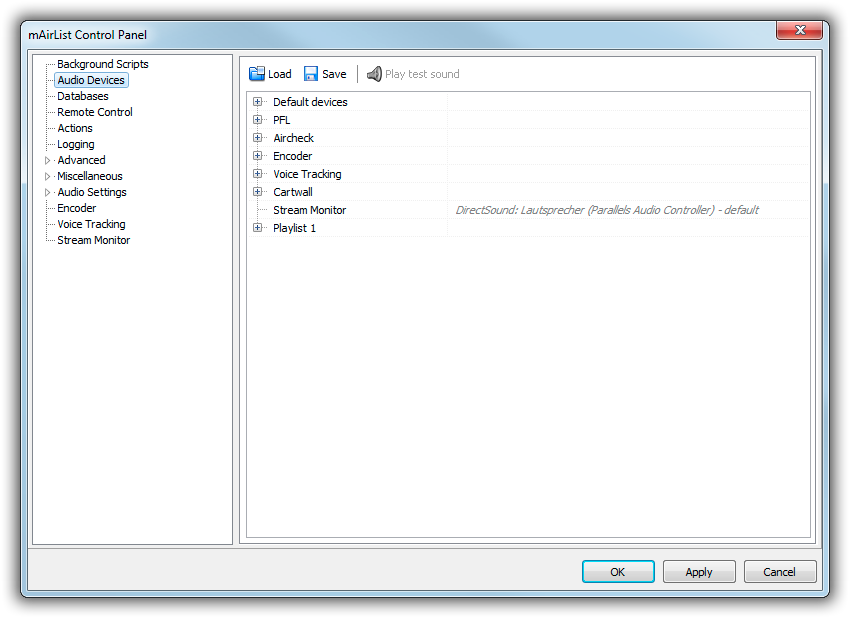
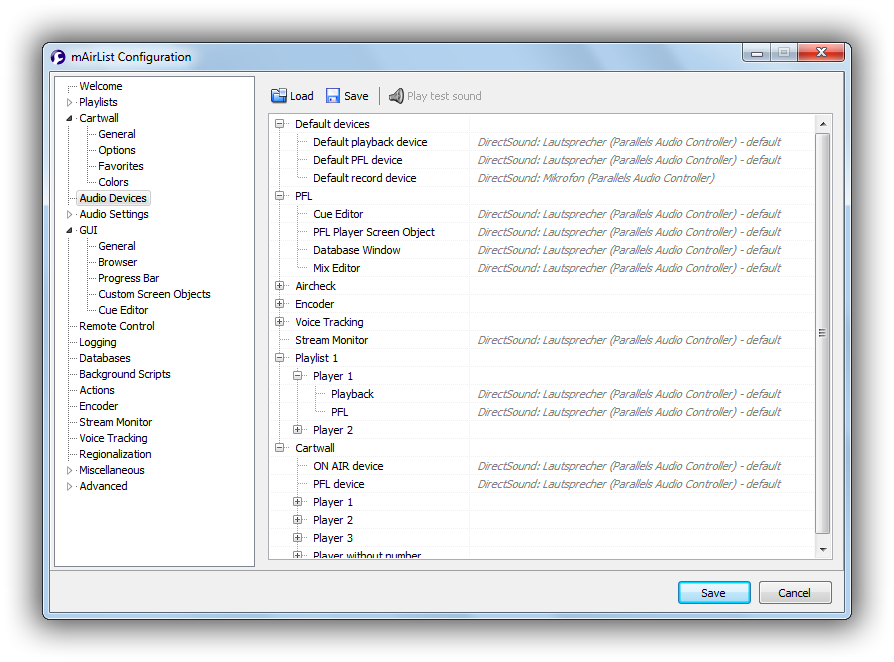
Audio routing is a very important part of the mAirList configuration process. You will find it on the Audio Devices config page:
You can select the sound card inputs/outputs for any kind of audio inside mAirList, including
- default input and output devices,
- output device for any kind of PFL function (Cue Editor, Mix Editor, etc.),
- the (on air) playback and PFL devices for each player,
- the (on air) playback and PFL devices for the cartwall in general, and also for each cart player if required,
- input and output devices for the streaming encoder,
- output devices for regional splitting.
The audio routing uses some kind of hierarchy. For example, when you do not explicitly select a “PFL” device for a particular player, the “Playback” device for that player is used instead. If the “Playback” device is not set either, the “Default” device will be used, and so on. Gray text means that there is no explicit device selected for that input/output, so the inherited device will be used.
GUI screen objects
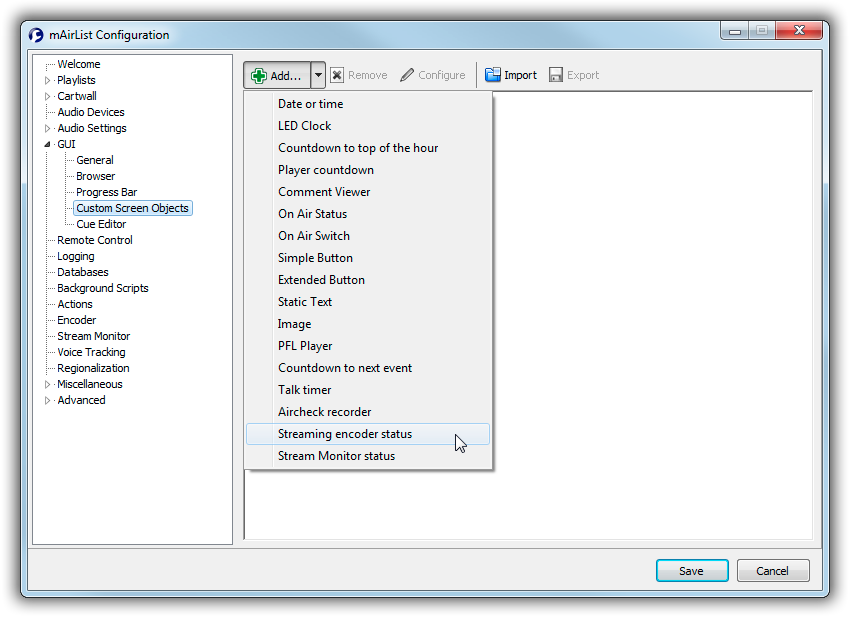
On the GUI → Custom screen objects page, only in the standalone config app, you can add optional objects to the mAirList main playout window:
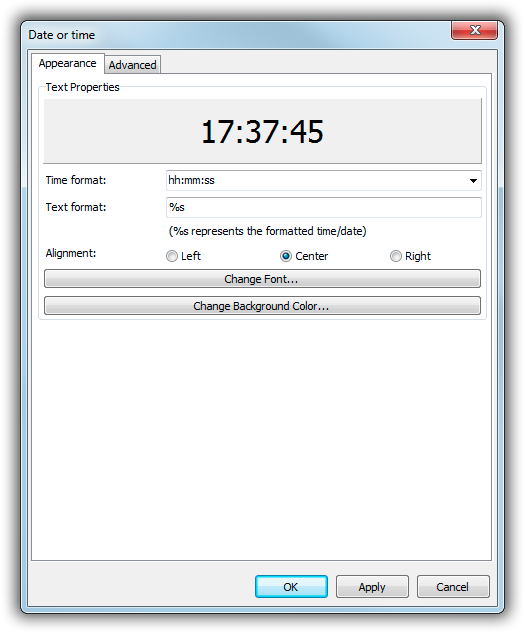
For example, add a larger clock, or an image file with your station logo. Most objects can be customized in various ways. For example, for the date/time object, you can configure the time format, font, color, and more:
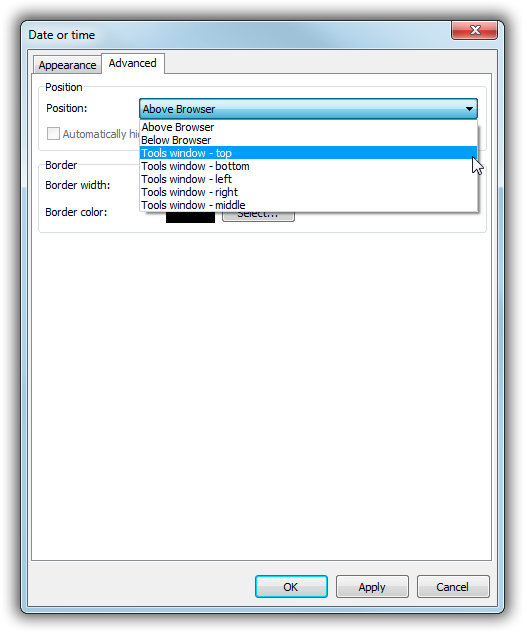
There are two possible places where screen objects appear:
- Above or below the browser, on the right hand side of the main window
- In an extra window that can be accessed through the Tools button in the main windows (this button won't appear until you have at least one screen object set to appear in the Tools window)
This can be adjusted on the Advanced tab of any screen object configuration dialog:
When you use a custom layout, you can rearrange the screen objects (those not in the Tools window) in the Layout Designer.
Remote control
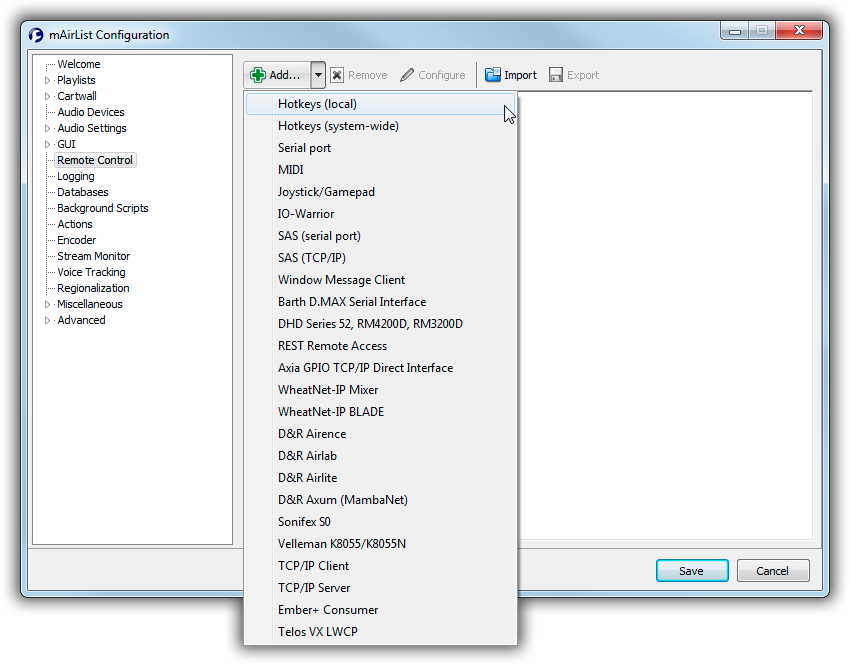
Almost any function in the mAirList system can be controlled remotely by a number of remote control interfaces. You can add one or more remote control mechanisms in the Remote Control section of the standalone config app or the Control Panel. The available remote control interfaces depend on your license.
For example, add a new Hotkeys (local) remote in order to add hotkeys to start or stop players etc. (There is also Hotkeys (system-wide) which will create hotkeys that work regardless whether the mAirList app has focus or not - but those keys won't be available in any other application anymore).
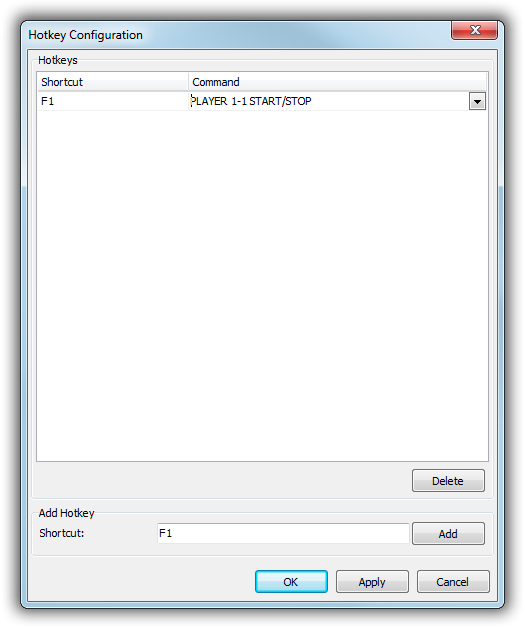
In the hotkey configuration dialog, first click the Shortcut field, and press the desired key, e.g. F1. The key will be added to the table at the top of the dialog. Then use the dropdown next to the key and select a command, e.g. PLAYER 1-1 START/STOP.
Commands are always written in capital letters, and most of them are self-explaining. For example, PLAYER 1-1 START/STOP will start the first player of the first (and often only) playlist, that is, Player A, or stop it if it is already playing.
It is also possible to chain by using a semicolon, e.g. PLAYER 1-1 FADEOUT;PLAYER 1-2 START will fade out player A and start player B with a single keypress. You must type chained commands manually.
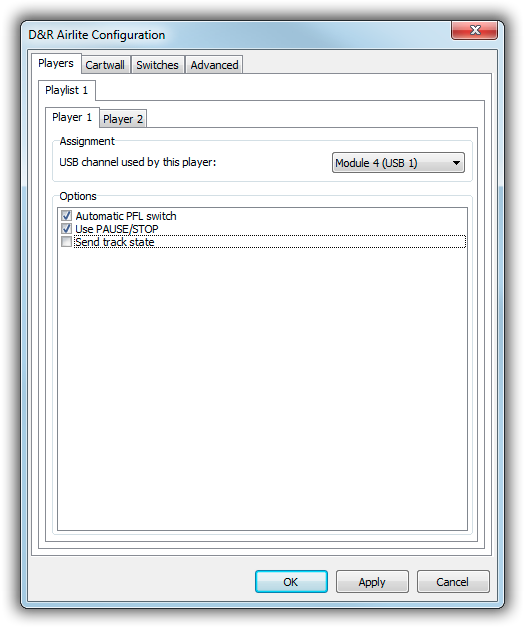
Some remote control interfaces are more sophisticated, and you do not have to deal with these low-level commands at all. For example, when using the remote control interface for the D&R AIRLITE, you just have to tell mAirList which player is using which USB channel on the console, and mAirList will take care of all commands (and also feedback to the desk):
Logging
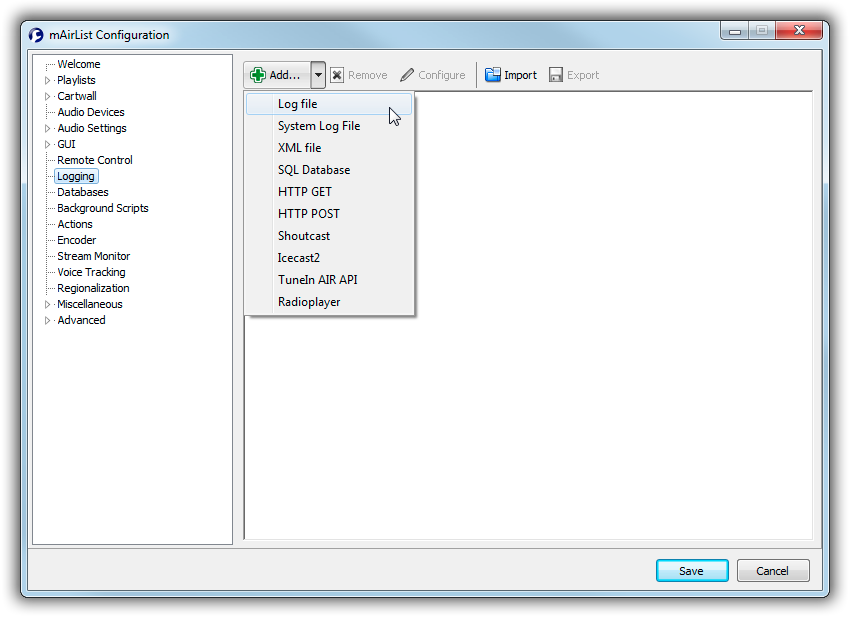
In the Logging section, you can instruct mAirList to send out information whenever a playlist item is started and stopped. There is variety of logging methods available:
For example, you can add a log file where all played songs are written to, or send an HTTP request to your website to indicate the start of a song.
All logging mechanisms use a set of variables that are replaced by the actual item data, e.g. %a for artist or %b for title.
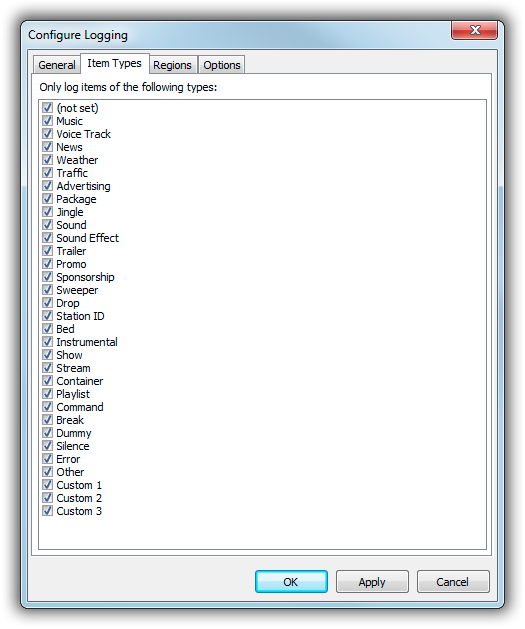
There is an Item Type tab in the properties of any logging mechanism where you can select the type of items to be logged - e.g. to filter out any item type but music for the online playlist on your website:
The values correspond to the “Item Type” setting in the playlist item properties dialog.
What's next?
Here are some advanced topics you may want to have a look at next:

