Table of Contents
Getting Started with mAirList
This article will give you a quick overview of the mAirList Radio Automation (version 6.3) and will help you to get started with the software.
Updating
Updates within the same minor version (e.g. 6.3.0 to 6.3.1, 6.3.2, 6.3.3 and so on) can just be installed by downloading and running the new setup - it will install “on top” of the current installation, replacing all files with the new version.
Each new minor release (when the middle version number changes) will be installed as a separate application. This is so you can keep your existing installation intact while configuring and testing the new version.
So for example, when you have 6.2.8 running and run the setup for 6.3.0, you will see two applications in the Windows Start Menu, “mAirList 6.2” and “mAirList 6.3”.
The new version will install without a license file and with a blank configuration. So the first step is to activate your license again using the License Manager.
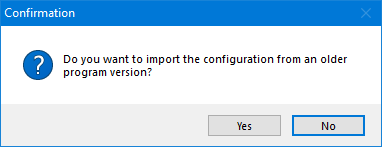
Thereafter, run the configuration app from the Start Menu. It will prompt you to migrate the config from the older version:
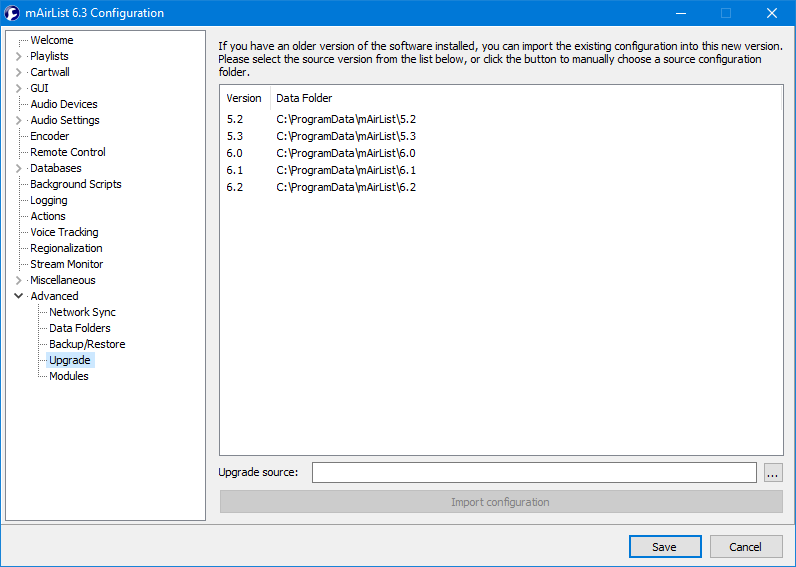
Click Yes, then select the old version:
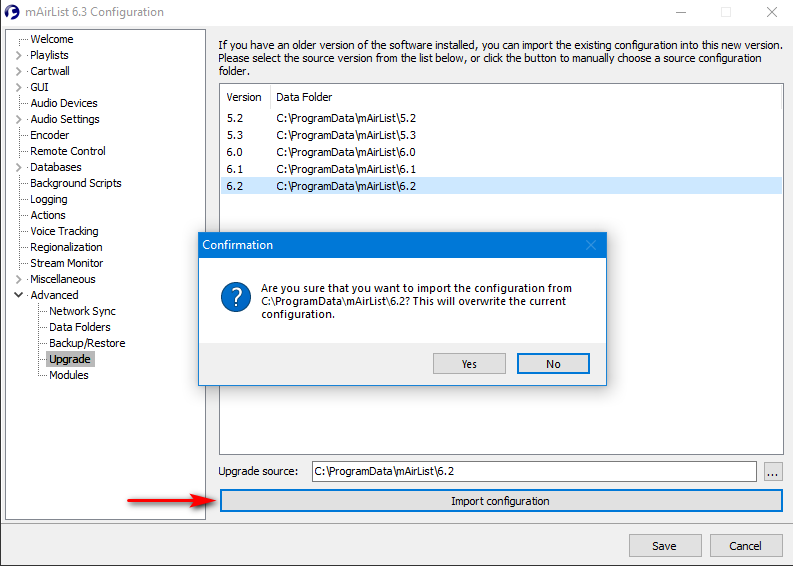
After having selected the old version, please click on the Import configuration bar at the bottom, not on “Save”.
You should see a confirmation dialog to overwrite the existing configuration. Please confirm and restart the configuration.
During the migration, all configuration files from the old config folder are copied over to the new config folder. If you are using a mAirListDB in “local mode”, and the database file is located in the data folder of the old version, it will be copied as well.

Configuration > Advanced > Upgrade.
Once the new version is up and running, you can safely uninstall the old one from the Windows Control Panel.


